I’ve finally decided to post the sock pattern I use for teaching. I use this pattern all the time to teach anyone I come across that would like to knit socks. I’ve tried to be very clear about each instruction, adding to it little by little to clarify as my students have asked questions. I myself generally use this pattern for all my socks. I sometimes change it up by adding a pattern of some kind to the leg portion.
I’m going to include it here in my blog so others can easily access it. I’ve also added it to my Ravelry Designs if you would like to print from a PDF. I’ve included the Kitchener Grafting instructions for easy reference.
 |
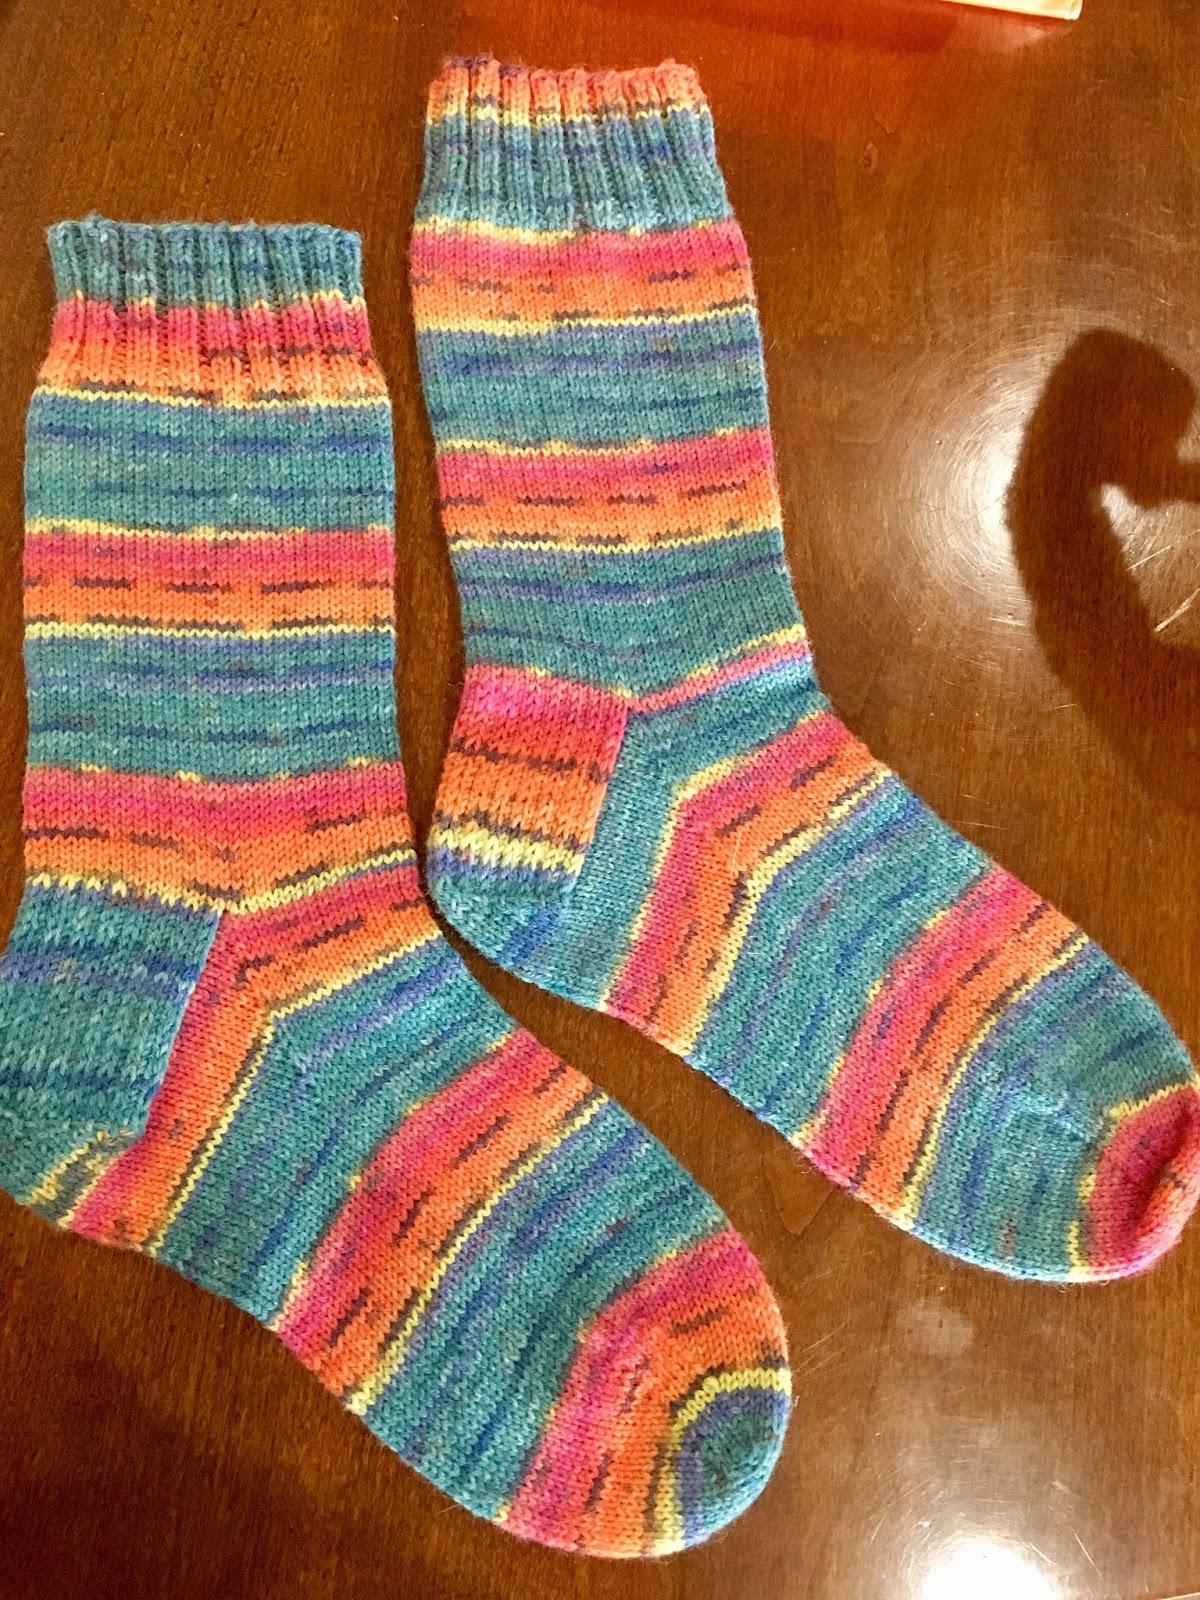
| This pair I knit using Opal yarns |
Basic Top Down Socks on Dpns
by Kym Hretz
Materials:
100 grams, 425 yards, fingering weight sock yarn of your choice
, Size 1 US (2.25mm) double pointed needles or size required for gauge
Gauge:
32 sts= 4 inches
Abbreviations:
CO= Cast On
K= Knit
P= Purl
S1= Slip 1 Stitch as if to purl
K2tog= Knit two stitches together
K2togTBL= Knit two stitches together through the back loop
SSK= Slip Slip Knit 2 together
Cast On
CO 64 (72) sts.using the Old Norwegian Cast On. (I always cast on over two needles for a bit more stretch.) Join and mark beginning of round.
Leg
Work in K2, P2 rib for 7 inches or desired leg length.
Heel Flap
Divide For Heel
, place one half of the stitches 32 (36), on a single needle. Leave the next two needles of 16 stitches each to work on later. You will be working only on the 32 (36) heel flap stitches flat, back and forth.
Round 1: *Sl1, K1 repeat from * to end.
Turn.
Round 2: Sl1, purl to end. Turn.
Repeat these 2 rounds till you have worked 32 (36) rounds (count the slipped stitches which should be 16 (18).
Work Round 1, one more time.
Turning the Heel
You are working in short rows to shape a little cup for the heel.
Starting on the wrong side.
Round 1: S1 then purl halfway across the heel flap plus 2=18 (20).P2tog, P1. Turn.
Round 2: Sl1, K5, K2tog TBL, K1. Turn.
Round 3: Sl1, P across towards the gap, stop at the first stitch before gap, P2tog, P1. Turn.
Round 4: Sl1, K across to 1 stitch before the gap. K2togTBL across the gap. K1. Turn.
Rounds 5-12: repeat rounds 3 & 4
Round 13: Sl1, P across towards the gap, stop at the first stitch before gap, P2tog. Turn.
Round 14: Sl1, K across to 1 stitch before the gap. K2togTBL across the gap.
You should have 18 (20) Stitches.
Picking up gusset Stitches
You will pick up the stitches on each side of the heel flap. By slipping the first stitch of each row on the heel flap, you have made a lovely chain edge which will be easy to pick up.
You should be able to get 18 (20) stitches on each side, but don’t worry if you get more or less than this, it’s more important to have no holes.
Knit across those instep stitches that have been on hold, or continue them in ribbing, then pick up and knit the same number of stitches on the other side of the heel flap. Knit one half of the heel flap stitches 9 (11) onto this needle. Mark the center as the beginning of the round. You should have approximately 84 stitches.
You are back to working in the round.
Gusset
Round 1: knit around
Round 2: Needle 1; Knit to 3 sts from the end , K2tog, K1. Needles 2 & 3; Knit across the instep sts.
Needle 4, Knit 1st stitch, SSK, knit to end of needle.
Repeat Rounds 1 & 2 until you have 64 (72) sts again.
Knit all rounds until the foot measures 2½” less than your total foot length. Example; if your foot length measures (9.5” knit until sock measures 7” from heel.
Shape Toe:.
Round 1: K to 3 sts from end of first needle, K2tog, K1. K first st on instep needle SSK, knit to 3 sts from end of instep needle, K2tog, K1.
Last needle, K1, SSK, K to end.
Round 2: Knit around.
Repeat rows 1 & 2 until you have 24 (28) sts (6 (7) on each of 4 needles.
Kitchener Graft Stitches
Thread blunt needle with yarn 3x width of your work. Have two sets of stitches you want to join on two needles, with wrong sides of work facing.
To start: Thread yarn through the first stitch on the front needle as if to purl, pull yarn through. Leave stitch on needle. Thread yarn through the first stitch on the back needle as if to knit. Leave stitch on needle.
Slip stitch off needle.
Leave stitch on needle.
Repeat these 4 steps. Until 2 stitches left (one on each needle) then repeat only 1 & 3.
Slip stitch off needle.
Chant (Optional): “Front-Knit-OFF, Front-Purl-ON, Back-Purl-OFF, Back-Knit-ON” OR “Knit, purl, purl, knit”. You will find your own groove.
Weave in all ends and make another sock to complete the pair!!
Feel Free to ask any questions you may have. Otherwise you’ll probably find me off knitting on a pair of socks somewhere.
Like this:
Like Loading...